Hampton Bay 24816-021 Instruction Manual
Browse online or download Instruction Manual for Household fans Hampton Bay 24816-021. Hampton Bay 24816-021 Instructions / Assembly User Manual
- Page / 14
- Table of contents
- TROUBLESHOOTING
- BOOKMARKS
- USE AND CARE GUIDE 1
- Assembling the fan 2
- Preparing the canopy 2
- Preparing the motor 2
- Assembly — Hanging the Fan 3
- Preparing the receiver and 4
- HAMPTONBAY.COM 5
- Installing the canopy 6
- Attaching the canopy 6
- Attaching the Fan Blades 7
- Attaching the light kit to 8
- Installing the glass shade 9
- Operation 10
- Operation (continued) 11
- Care and Cleaning 11
- Troubleshooting 12
- Service Parts 13
- EUR06000001-Y 14
Summary of Contents
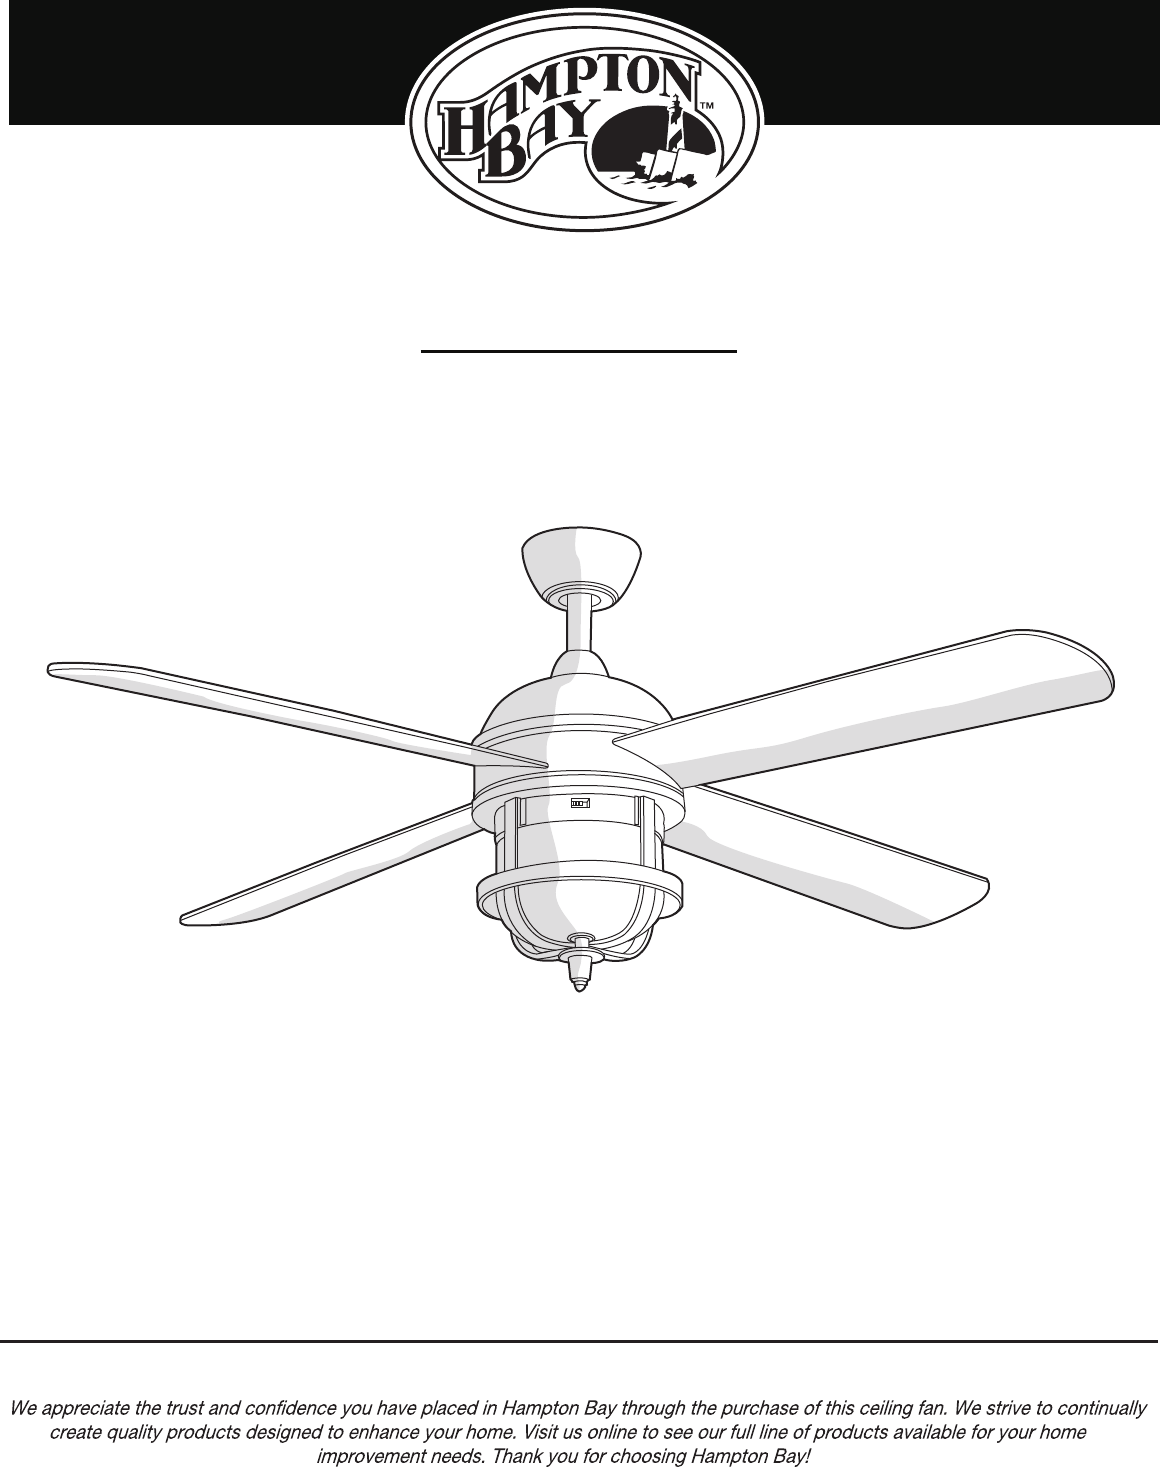
USE AND CARE GUIDESENZE 52 INCH CEILING FANTHANK YOUHAMPTONBAY.COM Item #597-730Model #24816-021Questions, problems, missing parts? Before returning
OperationREMOTE CONTROL OPERATING INSTRUCTIONSREMOTE CONTROL OPERATING INSTRUCTIONSINSTALLING THE REMOTE CONTROL HOLDERINSTALLING THE REMOTE CONTROL H
Operation (continued)Care and Cleaning□ Check the support connections, brackets, and blade attachments twice a year. Make sure they are secure. B
□ This unit is equipped with a wattage limiting device. Lamping in excess of 190 watts will disable your ceiling fan's light kit. To reset yo
PartPartABCDEFGHIJKLMNODescriptionDescriptionMounting bracket (preassembled)CanopyCanopy bottom coverHanger ball/downrod assemblyCoupling coverFan mo
Questions, problems, missing parts? Before returning to the store,call Hampton Bay Customer Service8 a.m. - 6 p.m., EST, Monday-Friday1-877-527-0313HA
1Preparing the canopy2Preparing the motor□ Remove the canopy bottom cover (C) from the canopy (B) by turning the canopy bottom cover (C) counter-
Assembly — Hanging the Fan 4Attaching the mounting bracket to the electrical boxHanging the fan from the mounting bracket□ Pass the 120 volt suppl
6Preparing the receiver andremote controlAssembly — Preparing the Remote Control10If you feel you do not have enough electrical wiring knowledge or ex
7Making the electrical connectionsAssembly — Making Electrical ConnectionsFollow the steps below to connect the fan to your household wiring. Use the
Assembly — Completing the Fan Body8Installing the canopy□ Make sure connections are neatly tucked in the ceiling outlet box (NN).□ Slide the c
Assembly — Attaching the Fan Blades□ Insert the blade (G) through the slot in the housing. Align the holes in the blade (G) and the fan motor ass
HJJSSHIFTTKK11Attaching the light kit mounting plate to the mounting ring12□ Remove one of the three mounting plate screws (JJ) from the mounting
13Installing the glass shadeAssembly — Installing the Light Kit (continued)□ Remove the decorative nut (MM) from the light kit (I).□ Install
Related products and manuals for Household fans Hampton Bay 24816-021
 (17 pages)
 (30 pages)
© 2020, manymanuals.com. All rights reserved. | 0.761 s |
 Manymanuals.com
 Manymanuals.de
 Manymanuals.fr
 Manymanuals.it
 Manymanuals.pl
 Manymanuals.cz
 Manymanuals.es
 Manymanuals-pt.com
Comments to this Manuals