Hampton Bay L-GZ680PST-M Installation Guide
Browse online or download Installation Guide for Unknown Hampton Bay L-GZ680PST-M. Hampton Bay L-GZ680PST-M Installation Guide User Manual
- Page / 14
- Table of contents
- BOOKMARKS
Summary of Contents
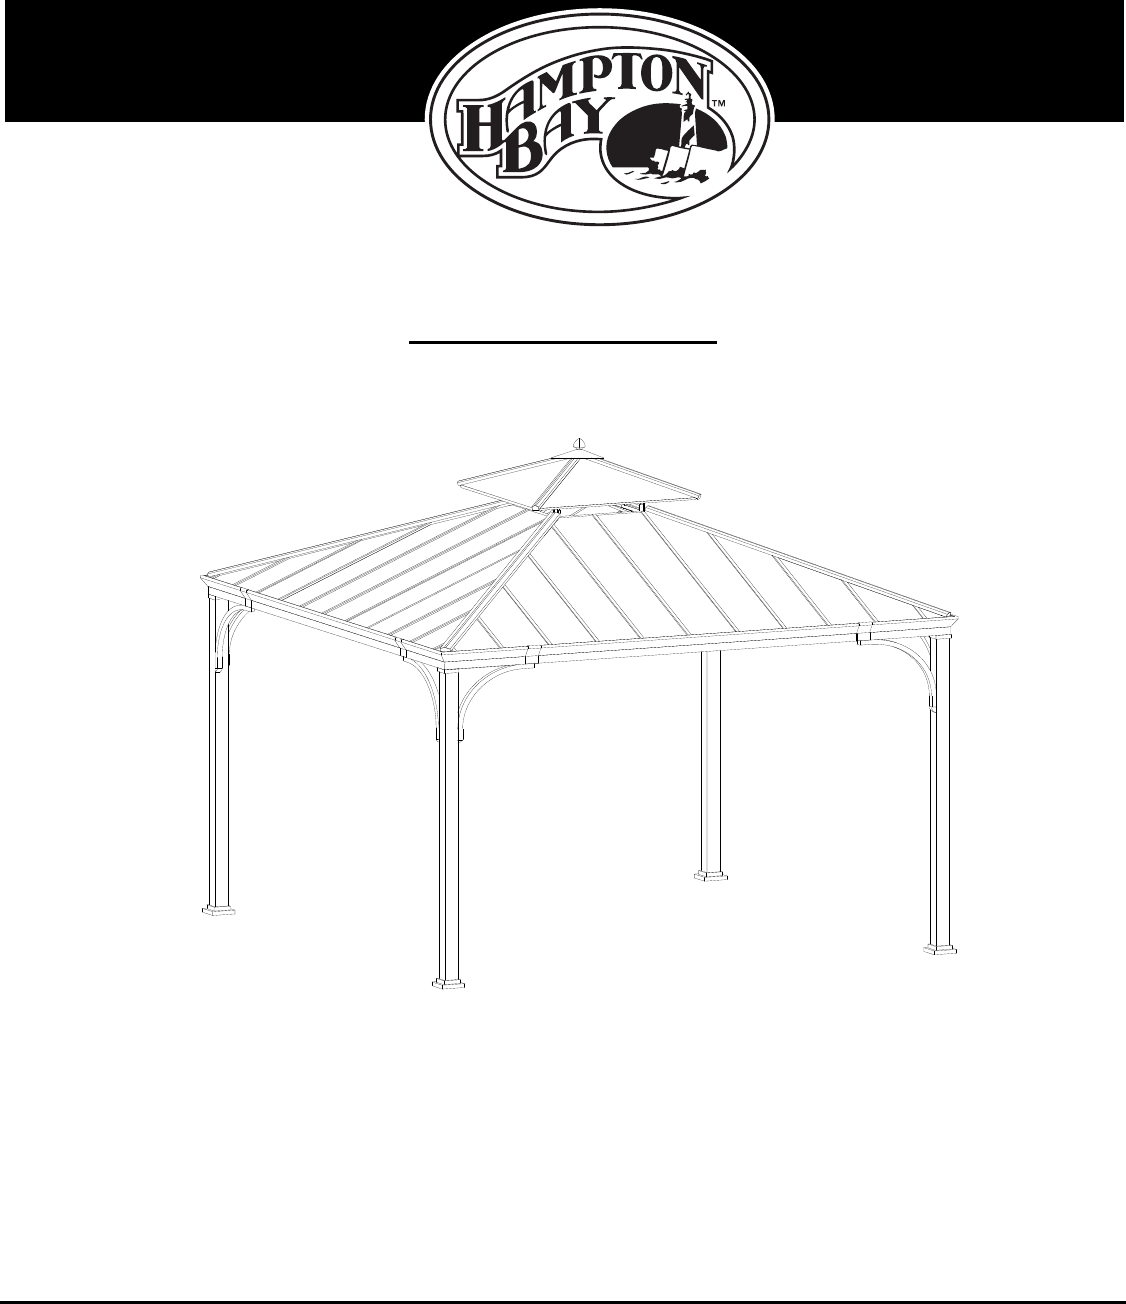
THANK YOU We appreciate the trust and confidence you have placed in Hampton Bay through the purchase of this gazebo. We strive to continually creat
10 Assembly (continued) 17 Attaching the right middle covers18Attaching the right middle cover to the right small cover □ Attach the middle cov
11 HAMPTONBAY.COM Please contact 1-855-HD-HAMPTON for further assistance. Assembly (continued) 21 Attaching the cover tablets 22 Connectin
12 Assembly (continued) 25 Securing the gazebo □ Lift the covers (B) and use the stakes (HH) to secure the whole gazebo to the ground.
13 HAMPTONBAY.COM Please contact 1-855-HD-HAMPTON for further assistance. Care and Cleaning □ Before using, clean the gazebo completely wit
Questions, problems, missing parts? Before returning to the store, call Hampton Bay Customer Service 8 a.m. - 6 p.m., EST,
2 Table of Contents Table of Contents ... 2Safety Information ...
3 HAMPTONBAY.COM Please contact 1-855-HD-HAMPTON for further assistance. Pre-Assembly PLANNING INSTALLATION Before beginning assembly of this
4 Pre-Assembly (continued) PACKAGE CONTENTS A B C D1 D2 E F G H I1 I2
5 HAMPTONBAY.COM Please contact 1-855-HD-HAMPTON for further assistance. Part Description QuantityA Post 4B Cover
6 Assembly (continued) 1 Attaching the decorative connector 2 Attaching the top connector to the top beam □ Insert the decorative connector (L)
7 HAMPTONBAY.COM Please contact 1-855-HD-HAMPTON for further assistance. Assembly (continued) 5 Securing the connectors 6 Securing the mid
8 Assembly (continued) 9 Securing the beams to the middle beams 10 Attaching the small roof beams to the connector □ Secure the other end of b
9 HAMPTONBAY.COM Please contact 1-855-HD-HAMPTON for further assistance. Assembly (continued) 13 Attaching the small roof boards and cover
Related products and manuals for Unknown Hampton Bay L-GZ680PST-M
 (2 pages)


 (24 pages)
(24 pages)
(24 pages)
© 2020, manymanuals.com. All rights reserved. | 2.602 s |
 Manymanuals.com
 Manymanuals.de
 Manymanuals.fr
 Manymanuals.it
 Manymanuals.pl
 Manymanuals.cz
 Manymanuals.es
 Manymanuals-pt.com
Comments to this Manuals