Hampton Bay FSS60428RST Instruction Manual
Browse online or download Instruction Manual for Unknown Hampton Bay FSS60428RST. Hampton Bay FSS60428RST Instructions / Assembly User Manual
- Page / 30
- Table of contents
- BOOKMARKS
- USE AND CARE GUIDE 1
- Table of Contents 2
- Warranty 2
- Safety Information 2
- Pre-Assembly 3
- Pre-Assembly (continued) 4
- Chair Assembly 6
- Chair Assembly (continued) 10
- Table Assembly 12
- Table Assembly (continued) 13
- Care and Cleaning 14
- 1-855-HD-HAMPTON 15
- HAMPTONBAY.COM 15
- GUÍA DE USO Y MANTENIMIENTO 16
- Garantía 17
- Información de Seguridad 17
- Tabla de contenido 17
- Preensamblaje 18
- Preensamblaje (continuación) 19
- Ensamblaje de la silla 21
- hexagonal (MM) 24
- Cómo ajustar los pernos 26
- Ensamblaje de la mesa 27
- Mantenimiento y limpieza 29
Summary of Contents
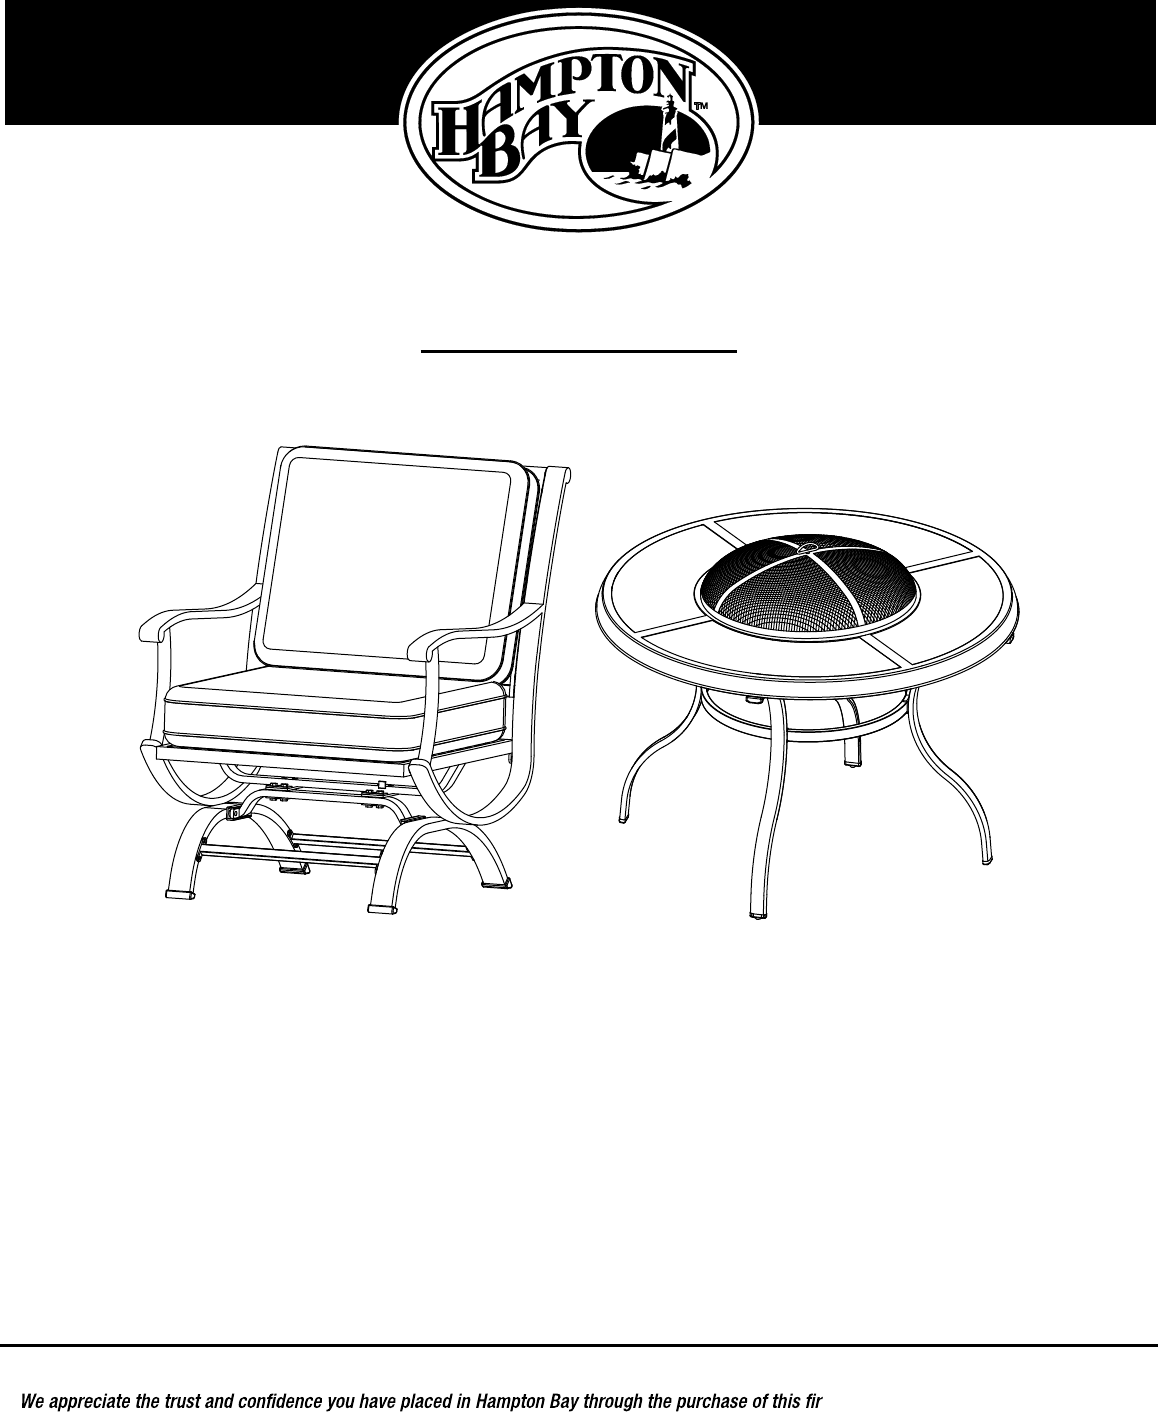
Item #1000 284 936Model #FSS60428RSTUSE AND CARE GUIDEREDWOOD VALLEY 5PC FIRE PIT SETQuestions, problems, missing parts? Before returning to the store
5l 10 Chair Assembly (continued) Connecting the chair seat to the support tube Attach the bottom of the chair seat (D) to the support tube (E) by in
6l 11 Chair Assembly (continued) Tightening the bolts Turn the chair right side up. Tighten all the bolts. Check and ensure the chair is tightly ass
1l 12 Table Assembly Attaching the leg connector to the table legs Attach the table connector (M) to the table legs (L) using M6x25 bolts (KK) and
2l 13 Table Assembly (continued) Attaching the table legs to the table top Attach the assembled table legs (L) to the table rim (K) using M6x25 bolt
3l 14 Table Assembly (continued) Tightening all bolts and adding the fire pits Once all bolts are in place, fully tighten all bolts. Turn the table r
Questions, problems, missing parts? Before returning to the store,call Hampton Bay Customer Service.8 a.m. - 6 p.m., EST Monday - Friday1-855-HD-HAMPT
Artículo núm. 1000 284936 Modelo núm.FSS60428RST GUÍA DE USO Y MANTENIMIENTOJUEGO DE FOGÓN DE 5 PIEZAS REDWOOD VALLEY¿Preguntas, problemas o pieza
2Tabla de contenido Tabla de contenido ... 2 Garantía ...
3 HAMPTONBAY.COM Para obtener asistencia, llama al 1-855-HD-HAMPTON. NOTA: HERRAJES INCLUIDOS NOTA: No se muestra el tamaño real de los herrajesP
4 Preensamblaje (continuación) CONTENIDO DEL PAQUETE DE LA SILLAPieza Descripción CantidadA Brazo derecho 4 B Brazo izquierdo 4 C Respaldo de la
2Table of Contents Table of Contents ... 2 Warranty ...
5 Preensamblaje (continuación) CONTENIDO DEL PAQUETE DE LA MESAPieza Descripción Cantidad K Borde de la mesa 1 L Pata de la mesa 4 M Co
1l 6 Ensamblaje de la silla Cómo jar el brazo derecho al asiento de la silla Coloca el brazo derecho (A) sobre una supercie suave. Fija el extremo
2l 7 Ensamblaje de la silla (continuación) Cómo jar el brazo derecho al respaldo de la silla Fija el brazo derecho (A) al respaldo de la silla (C)
3l 8 Ensamblaje de la silla (continuación) Cómo conectar el brazo izquierdo al asiento y el respaldo de la silla Repite los pasos 1 y 2 para jar el
4l 9 Ensamblaje de la silla (continuación) Cómo sujetar el tubo de soporte y las barras conectoras a la pata derecha Fija el tubo de soporte (E) al
5l 10 Ensamblaje de la silla (continuación) Cómo conectar el asiento de la silla al tubo de soporte Fija la parte inferior del asiento de la silla (
6l 11 Ensamblaje de la silla (continuación) Cómo ajustar los pernos Voltea la silla a su posición normal. Aprieta todos los pernos. Verica y asegú
1l 12 Ensamblaje de la mesa Cómo ensamblar el conector de las patas a las patas de la mesa Fija el conector de la mesa (M) a las patas de la mesa (L
2l 13 Ensamblaje de la mesa (continuación) Cómo jar las patas de la mesa a la borde de la mesa Sujete las patas ensambladas de la mesa (L) al borde
3l 14 Ensamblaje de la mesa (continuación) Cómo ajustar los pernos y colocar los fogones Una vez colocados todos los pernos, ajústalos bien. Voltea
3 Pre-Assembly PLANNING ASSEMBLY Read all instructions before assembly. To avoid damaging this product, assemble it on a soft, non -abrasive surf
¿Preguntas, problemas o piezas faltantes? Antes de regresar a la tienda,llama al servicio al cliente de Hampton Bay.de lunes a viernes entre 8 a.m. y
4 Pre-Assembly (continued) CHAIR PACKAGE CONTENTSPart Description Quantity A Right arm 4 B Left arm 4 C Chair back 4 D Chair seat 4 E Su
5 Pre-Assembly (continued) TABLE PACKAGE CONTENTSPart Description Quantity K Table rim 1 L Table leg 4 M Leg connector 1 N Cover 1 O Lid
1l 6 Chair Assembly Attaching the right arm to the chair seat Place the right arm (A) on a soft surface. Attach the front end of the right
2l 7 Chair Assembly (continued) Attaching the right arm to the chair back Attach the right arm (A) to the chair back (C) using M6x20 bolts (CC) and
3l 8 Chair Assembly (continued) Attaching the left arm to the chair seat and back Repeat step 1 and step 2 to attach the left arm (B) to the chair s
4l 9 Chair Assembly (continued) Attaching the support tube and the connector bars to the right leg Please fully tighten the two bolts on both the co
Related products and manuals for Unknown Hampton Bay FSS60428RST
 (2 pages)


 (24 pages)
(10 pages)
(24 pages)
(24 pages)
(10 pages)
© 2020, manymanuals.com. All rights reserved. | 0.167 s |
 Manymanuals.com
 Manymanuals.de
 Manymanuals.fr
 Manymanuals.it
 Manymanuals.pl
 Manymanuals.cz
 Manymanuals.es
 Manymanuals-pt.com
Comments to this Manuals