Hampton Bay 26612 Installation Guide
Browse online or download Installation Guide for Household fans Hampton Bay 26612. Hampton Bay 26612 Installation Guide User Manual
- Page / 33
- Table of contents
- BOOKMARKS
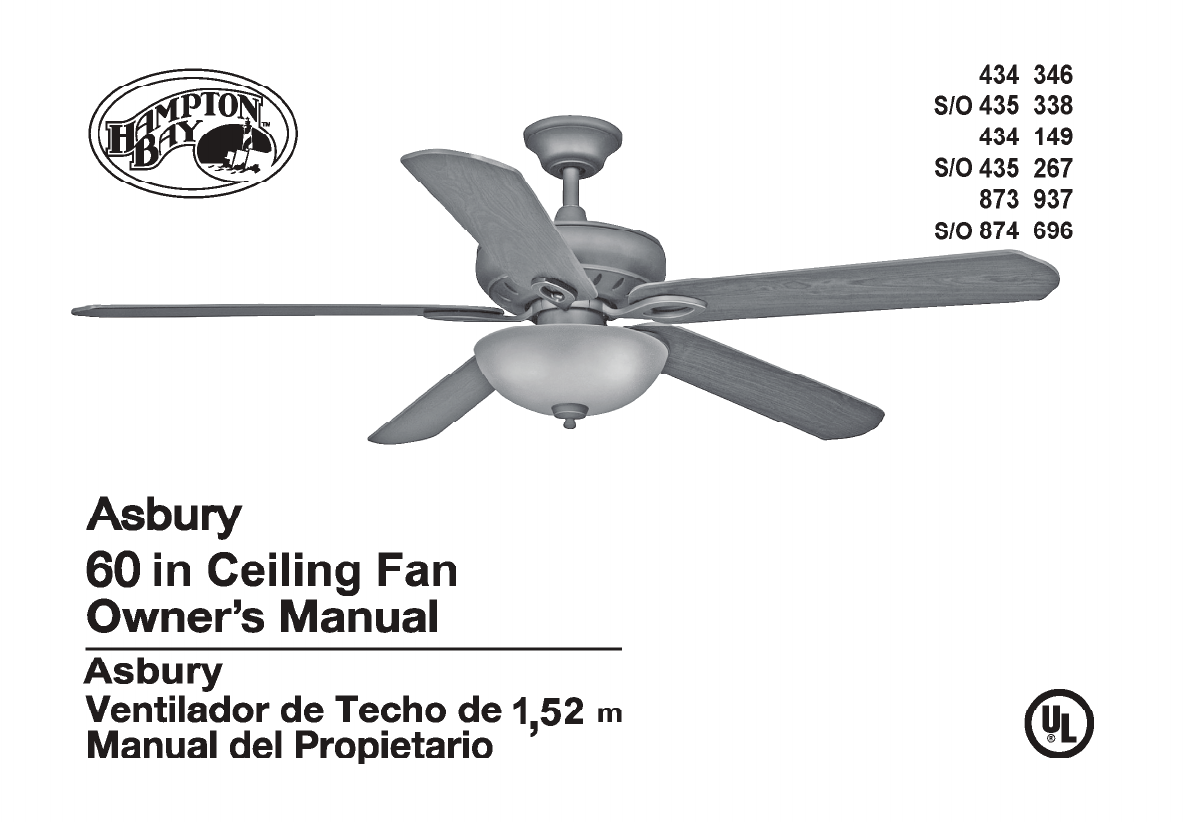
- 60” Asbury Plus 2
- Safety Rules 1 3
- 2. Unpacking Your Fan 4
- Installing Your Fan 3 5
- Hanging the Fan 6
- “Close-to-Ceiling” Mounting 7
- Making the Electrical 8
- Connections 8
- Finishing the Fan 9
- Installation 9
- Blade /Blade Arm 10
- Assembly 10
- Alignment Post 10
- Light Kit Option 11
- Blade Balancing 12
- Fan Without Light Kit 12
- Operating the Fan: 13
- 12. Operating Your Fan 14
- Problem Solution 15
- 14. Specications 16
- Warranty Information 15 17
- Asbury Plus de 60” 18
- 1. Normas de seguridad 19
- PATENTES PENDIENTES 20
- Caja eléctrica 21
- Montaje de techo estándar 22
- Montaje “Cerca del Techo” 23
- Cómo instalar el 24
- Cómo hacer las 24
- Finalizar la instalación 25
- Cómo montar 26
- Opción del kit de luces 27
- Equilibrar las aspas 28
- Ventilador 28
- Problema Solución 31
- Especicaciones 14 32
- Adjunte aquí el recibo para 33
Summary of Contents
8.CLOSE-TO-CEILING MOUNTING1. Carefully unhook the fan from the mount-ing plate and align the locking slots of the ceiling canopy with the two screws
9.Light Kit OptionCAUTION - To reduce the risk of electrical shock, disconnect the electrical supply circuit to the fan before installing light kit.FA
MountingScrew(3)Plastic PlugFigure 19Figure 18Blade BalancingAll blades are grouped by weight. Because nat-ural woods vary in density, the fan may wob
Operating Your Remote Control 11.Operating the Fan:Hi Key - High SpeedMed Key - Medium SpeedLow Key - Low SpeedOff Key - Power OffLight Key - Light on
Figure 21Turn on the power and check the operation of the fan. Speed settings for warm or cool weather depend on factors such as room size, ceiling he
Care of Your Fan and Troubleshooting 13.Care of Your FanHere are some suggestions to help you maintain your fan.1. Because of the fan’s natural move
14. Specications FAN SIZE SPEED VOLTS AMPS WATTS RPM CFMNET WEIGHTGROSS WEIGHTCUBE FEET60”Low 120 0.34 17 58 249926.0Lbs29.3Lbs2.4’Med 120 0.45 35 90
Warranty Information 15.Hampton Bay Lifetime Limited WarrantyLifetime Warranty on MotorHampton Bay warrants the fan motor to be free from defects in w
Asbury Plus de 60” Ventilador de techo de Hampton Bay Accu-arm™ para una instalación fácil y precisaInclinación de aspa más pronunciadapara obtener un
1. Para disminuir el riesgo de descarga eléctrica, asegúrate de que la electricidad ha sido apagada en el cortacircuitos o la caja de fusibles antes
60” Asbury PlusCeiling Fan by Hampton BayAccu-Arm™ for Accurateand Easy InstallationSteeper Blade Pitch forGreater Air Movement3-Speed Reverse Functio
a. Herrajes de montaje de aspas (15 tornillos)b. Herrajes de montaje y electricidad (3 conectores plásticos de cable, 1 pasador de soporte, 1 pasad
3. Cómo instalar el ventilador Herramientas necesariasDestornillador Phillips, destornillador plano, llave ajustable, escalera de tijera y cortacable
necesario, cada sección de las instrucciones indicará los diferentes procedimientos a seguir para los dos tipos de instalación.Montaje de techo estánd
Montaje “Cerca del Techo”1. Retira el aro en la cubierta, girando a la derecha hasta destrabarlo (Figura 5).2. Retira la placa de montaje de l
6.CUANDO USES EL MONTAJE DE TUBO BAJANTE Y BOLA ESTÁNDAR, LA PESTAÑA EN EL ARO EN LA PARTE INFERIOR DE LA PLACA DE MONTAJE DEBE ENCAJAR EN LA RANURA D
7.CADA TUERCA DEL CABLE (CONECTOR DE CABLE) PROVISTA CON ESTE VENTILADOR ESTÁ DISEÑADA PARA ACEPTAR CABLES DOMÉSTICOS DE MÁXIMO UN CALIBRE 12 Y DOS CA
8.MONTAJE CERCA DEL TECHO1. Con cuidado desengancha el ventilador de la placa de montaje y alinea las ranuras de cierre de la cubierta del techo con
9.Opción del kit de lucesPRECAUCIÓN – Para disminuir el riesgo de descarga eléctrica, desconecta el circuito de energía del ventilador antes de instal
Tornillo de montaje (3)Tapón plásticoPunto en el techoFigura 19Figura 18Equilibrar las aspasTodas las aspas se agrupan por peso. Como las maderas natu
11. Cómo manejar el control remotoCómo poner en funcionamiento el ventilador:Tecla Hi - Velocidad altaTecla Med - Velocidad mediaTecla Low - Velocidad
Safety Rules ...1Unpacking Your Fan ...2Installing Your Fan ...3O
Figura 21Enciende la electricidad y verica el funcionamiento del ventilador. Las conguraciones de velocidad para clima cálido o frío depen
13. Cuidado del ventilador y solución de problemasCuidado del ventiladorAquí tienes algunas sugerencias para el mantenimiento de tu ventilador.1. Deb
Especicaciones 14.TAMAÑO VELOCIDAD VOLTIOS AMPERIOS VATIOS RPMPIES CÚB. X MIN.PESO NETOPESO BRUTOPIES CÚB.60”Baja 120 0.34 17 58 249926.0Lb29.3Lb2.
15. Información de la garantíaGarantía limitada de por vida de Hampton BayGarantía de por vida para el motorHampton Bay garantiza de por vida, a parti
a. Blade attachment hardware (15 screws)b. Electrical & Mounting Hardware (3 plastic wire connectors, 1 hanger pin, 1 locking pin, 1 rubber gas
Installing Your Fan 3. Tools RequiredPhillips screw driver, straight slot screw driver, adjustable wrench, step ladder, and wire cutters.Mounting Opt
different procedures to follow for the two types of installation.Standard Ceiling Mounting1. Remove the canopy ring from the canopy by turning the ri
“Close-to-Ceiling” Mounting1. Remove the canopy ring from the canopy by turning the ring to the right until it unlocks (Figure 5).2. Remove the moun
6.WHEN USING THE STANDARD BALL/DOWNROD MOUNTING, THE TAB IN THE RING AT THE BOT-TOM OF THE MOUNTING PLATE MUST REST IN THE GROOVE OF THE HANGER BALL.
7.EACH WIRE NUT (WIRE CONNECTOR) SUP-PLIED WITH THIS FAN IS DESIGNED TO ACCEPT UP TO ONE 12 GAUGE HOUSE WIRE AND TWO WIRES FROM THE FAN. IF YOU HAVE L
Related products and manuals for Household fans Hampton Bay 26612
 (1 pages)
 (26 pages)
© 2020, manymanuals.com. All rights reserved. | 1.081 s |
 Manymanuals.com
 Manymanuals.de
 Manymanuals.fr
 Manymanuals.it
 Manymanuals.pl
 Manymanuals.cz
 Manymanuals.es
 Manymanuals-pt.com
Comments to this Manuals